


A store fit-out goes wrong in the gaps between trades: the shelving arrives before the floor is ready, the checkout blocks the last gondola, or the refrigeration drain has nowhere to go. This checklist follows the order of a real project, from the first floor plan to the final inspection.
1. Define the scope before the floor plan
Write down what the project includes and what it excludes. A fit-out that assumes the landlord provides the floor, the electrician provides the power and the shelving supplier provides the layout will stall at the first site meeting.
- Sales floor, back room, office, toilets and external signage: which areas are in scope?
- New build or refit: what stays, what moves and what is disposed of?
- Refrigeration, lighting, electrical, plumbing and HVAC: who designs and who installs?
- Shelving, display cabinets, checkout and back-room racking: who supplies and who installs?
- Permits, fire approval and opening date: what has to be booked first?
A simple scope table prevents most of the arguments later. It also tells the shelving supplier which drawings they need before they can quote accurately.
2. Measure the shell and the circulation
Measure the building before you draw the store. The drawing should reflect the columns, doors, ceiling height, sprinklers, drains and electrical points that actually exist.
- Sales-floor dimensions and column grid, including the column faces.
- Ceiling height under beams, ducts and light fixtures.
- Door widths and the route from the loading bay to the sales floor.
- Floor level changes, drains, inspection covers and any weak spots.
- Electrical points, water connections and the main switchboard location.
Then draw the customer route: entrance, trolley pick-up, first aisle, fresh department, ambient aisles, checkout and exit. The route should not pass through a service door or a staff route. If it does, move the door or change the layout before ordering anything.
Mark the aisle widths on the floor with tape and walk them with a trolley. A layout that looks generous on screen can feel tight when a trolley meets a restocking cage.
3. Build the shelving and cabinet schedule
The schedule is the bridge between the layout and the purchase order. It should list every run, bay and cabinet, not just the total quantity.
| Schedule field | Why it matters | Example |
|---|---|---|
| Location | Links the item to the drawing | Aisle 3, wall run B |
| Type | Separates shelving, cabinets and checkout | Double-sided gondola |
| Size | Controls capacity and aisle clearance | 1200 × 600 × 1500 mm |
| Shelf count | Sets capacity and load | 5 shelves plus base |
| Finition | Matches the store design | Powder-coated steel, wood trim |
| Accessoires | Price tags, dividers, lighting | Price strips, LED shelf lights |
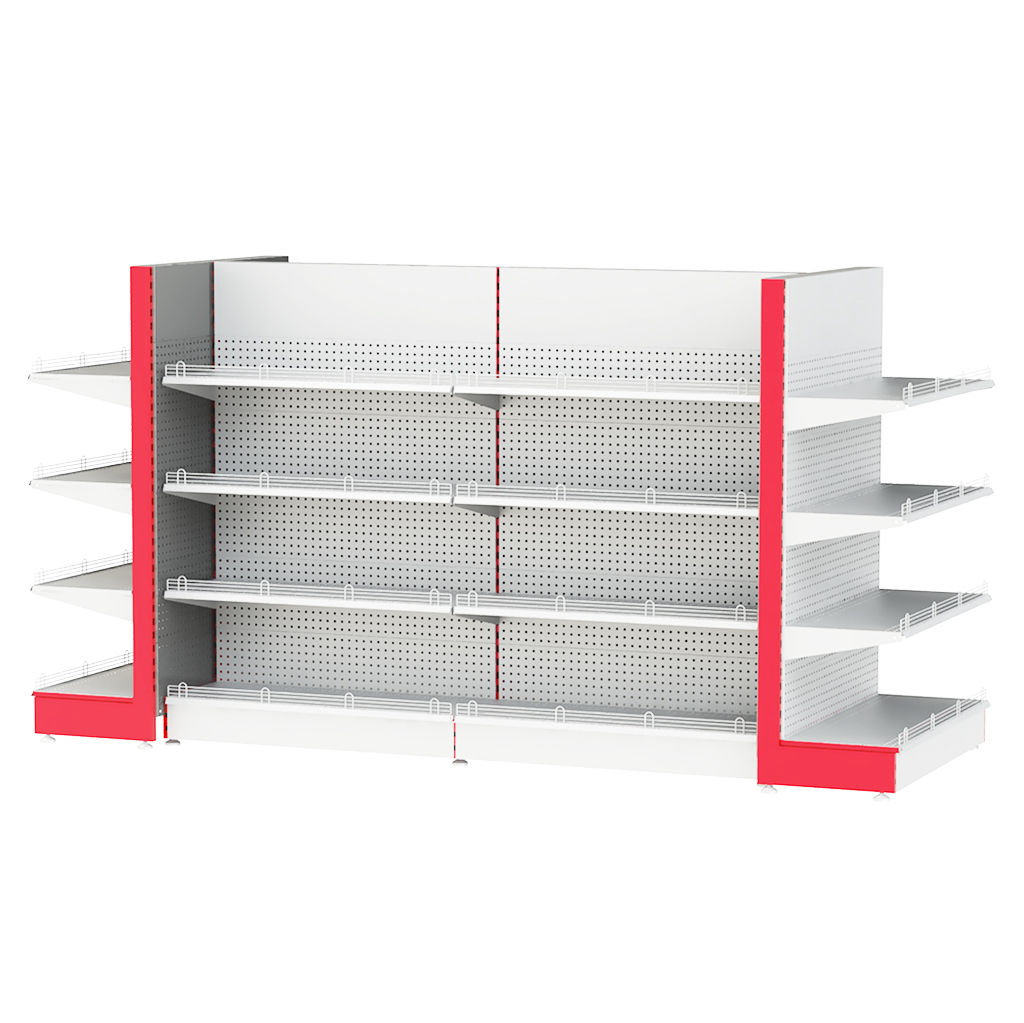
Use the same schedule for the étagère de magasin, the display cabinets and the back-room racking. If the schedules are separate, the interfaces — the end of a gondola, the corner where a cabinet meets a wall — are the first things to be missed. A double-sided gondola et un pallet racking run may look unrelated, but both depend on the same aisle and delivery plan.
4. Coordinate refrigeration, electrical and lighting
Services drive the layout more than most buyers expect. A refrigerated cabinet needs power, airflow, a drain and service access. A lighting scheme needs drivers, switching and cable routes. If these are added after the shelving is fixed, the store loses selling space.
- Confirm the power load and socket positions for every refrigerated cabinet and display light.
- Agree the drain route and fall before the floor is finished.
- Keep service access clear at the back of refrigeration and at the top of tall shelving.
- Check that lighting does not shine directly into glass doors or create heat inside the cabinet.
- Leave spare capacity at the switchboard for future display changes.
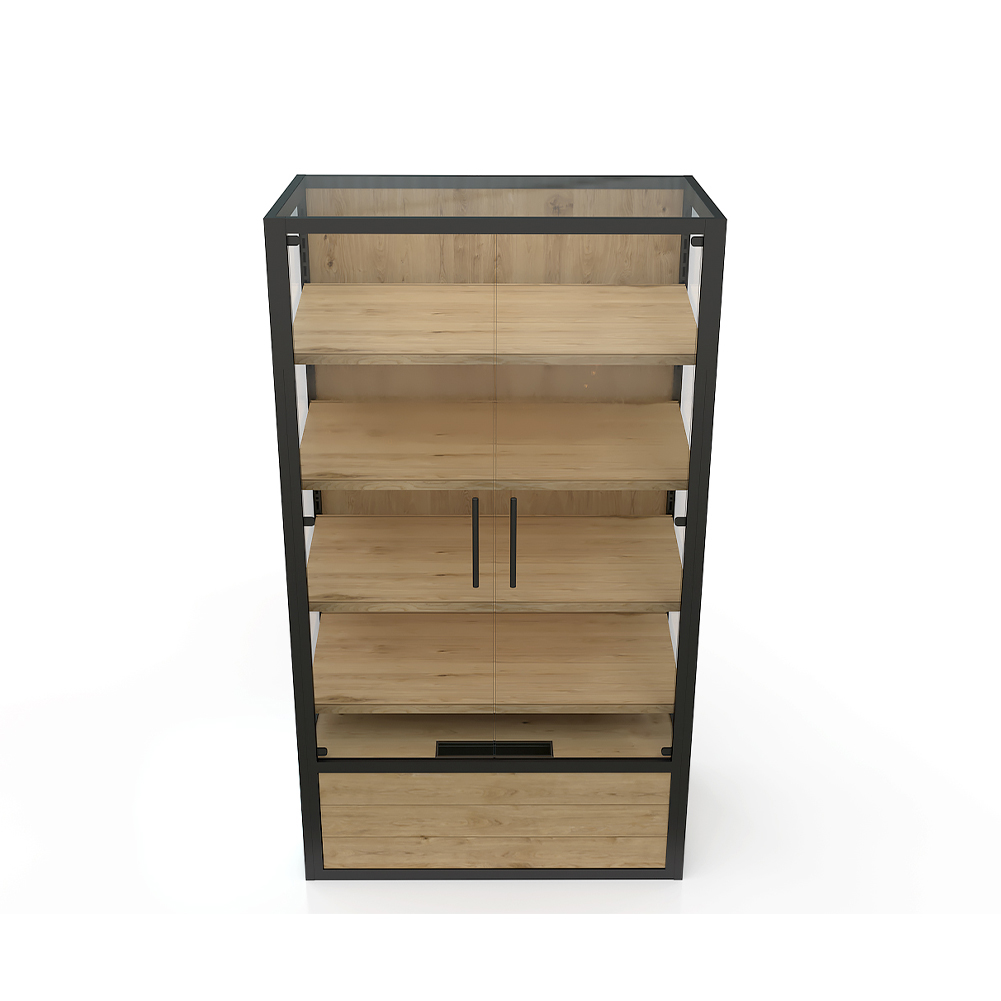
Compare a refroidisseur vertical à deux portes with the fresh-department plan, and check the cabinet depth against the aisle before approving the electrical layout.
5. Plan the front end and checkout
The checkout is the last thing the customer uses and the first place a layout becomes uncomfortable. Start with the number of lanes, the basket and trolley mix, and the space needed for bagging and impulse displays.
- Allow enough queue space so the line does not block the last gondola.
- Keep the bagging side clear of the walkway and the staff route.
- Plan impulse fixtures as part of the counter, not as an afterthought.
- Check the counter height against the staff and customer sides.
- Confirm the scanner, scale and cash drawer positions before the counter is built.
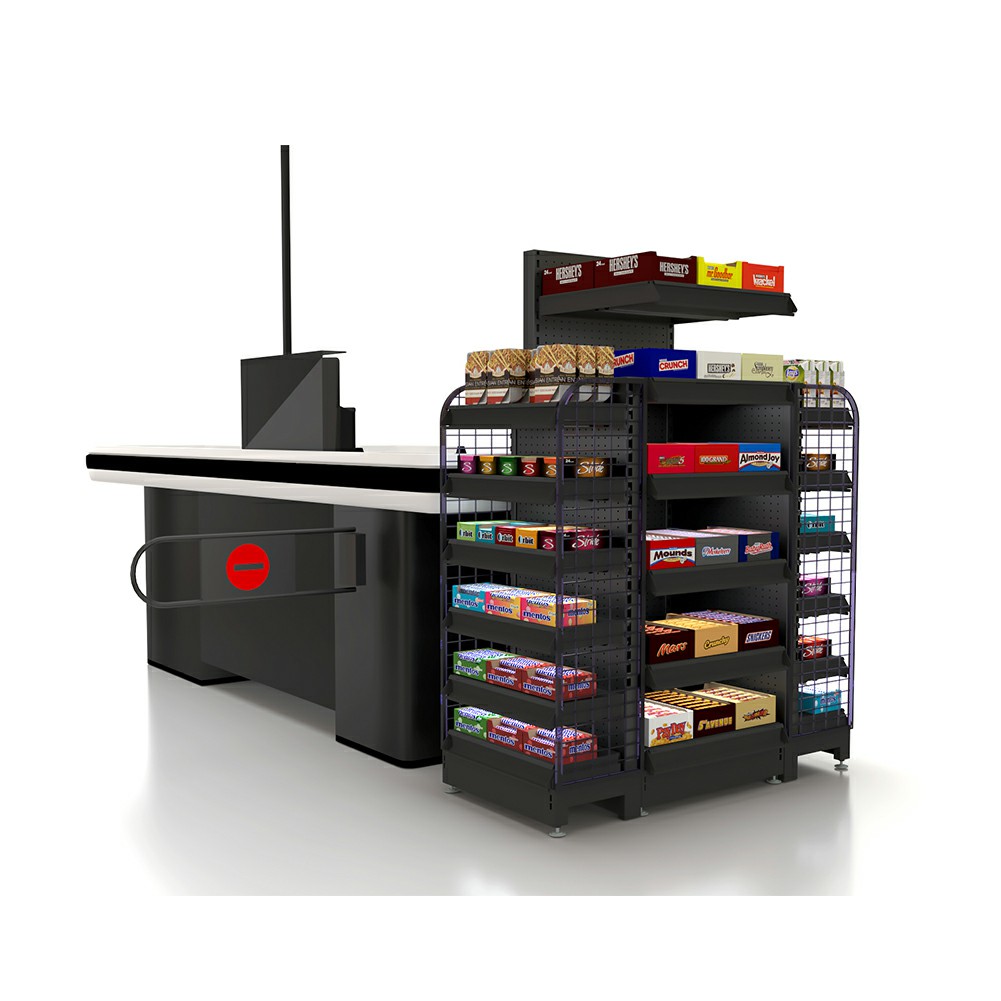
A checkout counter with a conveyor belt suits a larger basket mix; a compact lane may need a different counter. For a busy front end, compare a caisse avec espace de rangement against the bagging and queue plan. The right choice depends on the format, not on the catalog page.
6. Set delivery and installation responsibilities
Most fit-out delays are logistics delays. Agree who unloads, who checks the delivery, who stores the goods on site and who installs them. Put it in the purchase order.
- Delivery address, site contact and accepted delivery hours.
- Whether the price includes unloading, positioning and installation.
- Who supplies fixings, sealant, power connections and final cleaning.
- Where the goods are stored before installation and who is responsible for damage.
- How shortages or transit damage are reported and replaced.
For a phased opening, sequence the deliveries by zone. Delivering every fixture at once can block the very area the next trade needs to finish.
7. Inspect before handover
Walk the store with the drawing and the schedule. Mark every defect on a snag list with a location and a photo, then agree who fixes it and by when.
| Area | What to check |
|---|---|
| Shelving | Level runs, secure connections, shelf load, end caps, price strips |
| Vitrines | Door alignment, glass condition, locks, lighting, temperature pull-down |
| Checkout | Counter height, scanner and scale fit, bagging space, queue clearance |
| Réfrigération | Temperature, drain, airflow, noise, service access |
| Electrical | Sockets, switching, cable protection, spare capacity |
| Safety | Sharp edges, stability, emergency routes, fire equipment access |
Run the store for a day before the official opening if possible. A soft opening exposes the real circulation problems: the aisle that is too tight, the cabinet that is loaded from the wrong side, the checkout queue that blocks the exit.
8. Fit-out checklist FAQ
How early should shelving be ordered?
Order after the layout and schedule are approved, but before the floor and electrical works are closed up. The exact lead time depends on the specification, quantity and destination; ask the supplier to confirm it in writing.
Should I buy shelving and refrigeration from one supplier?
One supplier can simplify coordination, but only if the scope and responsibilities are clear. Ask which items are manufactured in-house and which are sourced, and who handles warranty and spare parts for each.
What is the most common fit-out mistake?
Ordering fixtures before the aisle plan and services are fixed. The second most common is leaving the front end until last, when the checkout has to fit around everything else.
How do I compare quotes from different suppliers?
Use the same schedule and specification for every quote. Compare the included accessories, installation, delivery, warranty and spare parts — not just the unit price.
What should be on the snag list?
Anything that affects safety, operation or appearance: unstable runs, misaligned doors, damaged glass, missing fixings, incorrect lighting, temperature problems and incomplete accessories.
Sources and standards
A fit-out checklist is not a code compliance review. At handover, confirm that exit routes and accessible routes match the approved drawings and the standards your jurisdiction enforces. In the U.S., OSHA 29 CFR 1910.36 sets design and construction requirements for exit routes, and the 2010 ADA Standards for Accessible Design cover accessible routes, sales and service counters, and checkout aisles. Local building and fire officials make the final determination.